-
{{ cart.content.length }}
{{item.data.product_name}}
{{ '('+((item.color=='None')? 'No' : item.color)+' bow)' }}
{{ '('+((item.color=='None')? 'No' : item.color)+' pad)' }}
{{item.qty}} X
£
£ Buy Option Available
Your quote is empty.
Beer Keg Dispenser Manual

Please follow the step by step instructions below.
Step 1 - Connecting Your Keg
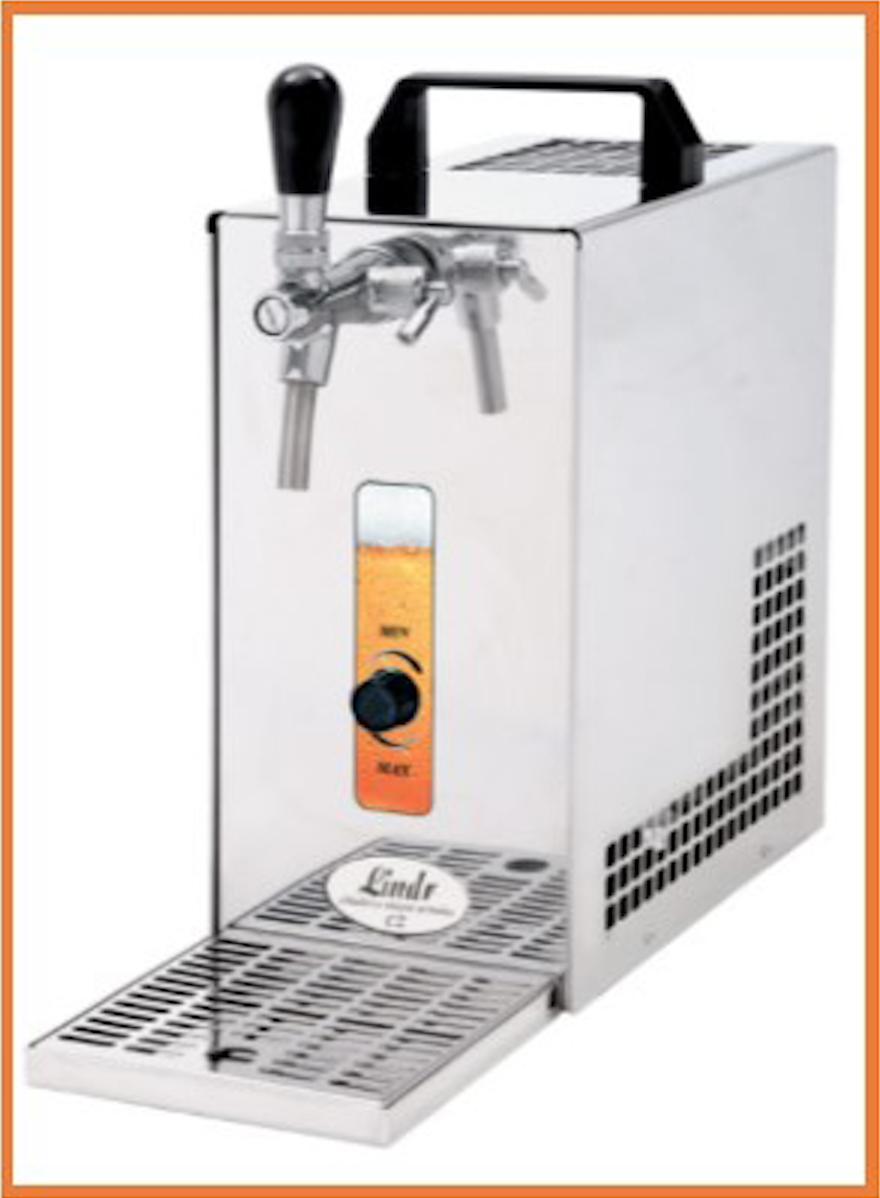
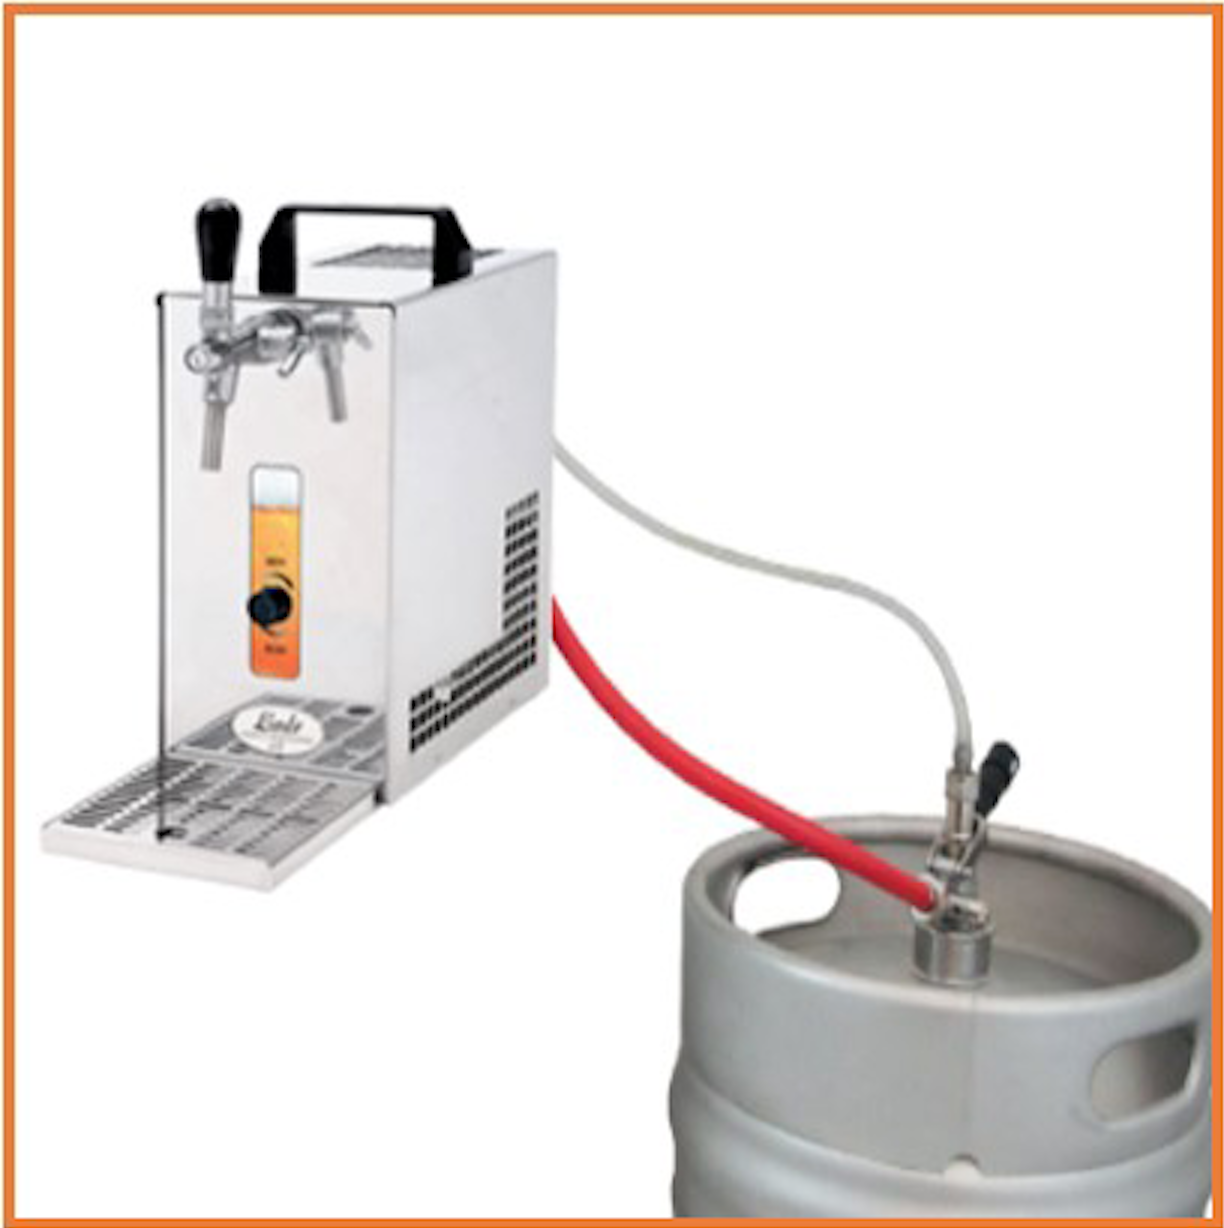
To connect your keg to your beer keg dispenser, simply place the coupler attached to the machine onto the top of the keg and clamp down into place. The machine should not be plugged in at this point.
NOTE: Do not lean over the keg at any time whilst clamping your coupler in.
Step 2 - Cooling Your Beer
As soon as the coupler has been clamped into place on the keg, pour through half a pint immediately. Once this half a pint has been poured, plug the machine in and turn the switch on at the back. Once it is switched on, turn the dial at the front to the highest number (coldest). Everything should then be left for around 10 minutes to allow the beer to cool. Once this is done the beer keg dispenser is ready to pour! (Although it is not essential, Party Keg Hire advise the keg is kept in a cool place for the duration of the event)
Step 3 - Pouring Your Beer
When dispensing your beer, pull the tap handle fully down so it is horizontal. Ensure the glass is tilted to a 45 degree angle and straighten whilst pouring to allow for an inch of foamy head. To adjust the flow speed twist the flow control just behind the tap handle. At first you will pour foam but shortly the beer will begin to flow normal.
If you need further assistance, please contact our team.


